Walkthrough guide
We’re excited that you’re using Cookie Confirm! Let’s walk you through the setup step by step. It only takes about five minutes to get your banner up and running.
Step 1: setting up your cookie banner
👉 In the menu, go to 'Setup'.
Settings
Default consent settings
Choose which cookies are pre-checked by default. Functional cookies are always checked and cannot be disabled, since they’re required for the website to function.Button settings
Choose which buttons are visible on the banner.'Allow selection' button behavior
When this option is enabled, the button becomes a 'Customize' button. Visitors who click it will see an overview of the selected options and can easily adjust their consent preferences.Implicit consent
When this is on, the banner disappears as soon as a visitor scrolls or clicks anywhere on the page. In this case, full consent is automatically given. Keep in mind that this setting is not allowed in many countries.
Design
Under the 'Design' tab, you can upload your logo, adjust button colors, and change other design elements to match the banner with your branding.
💡 For more information, see this article: https://help.cookieconfirm.com/en/articles/5096514
Step 2: setting up languages
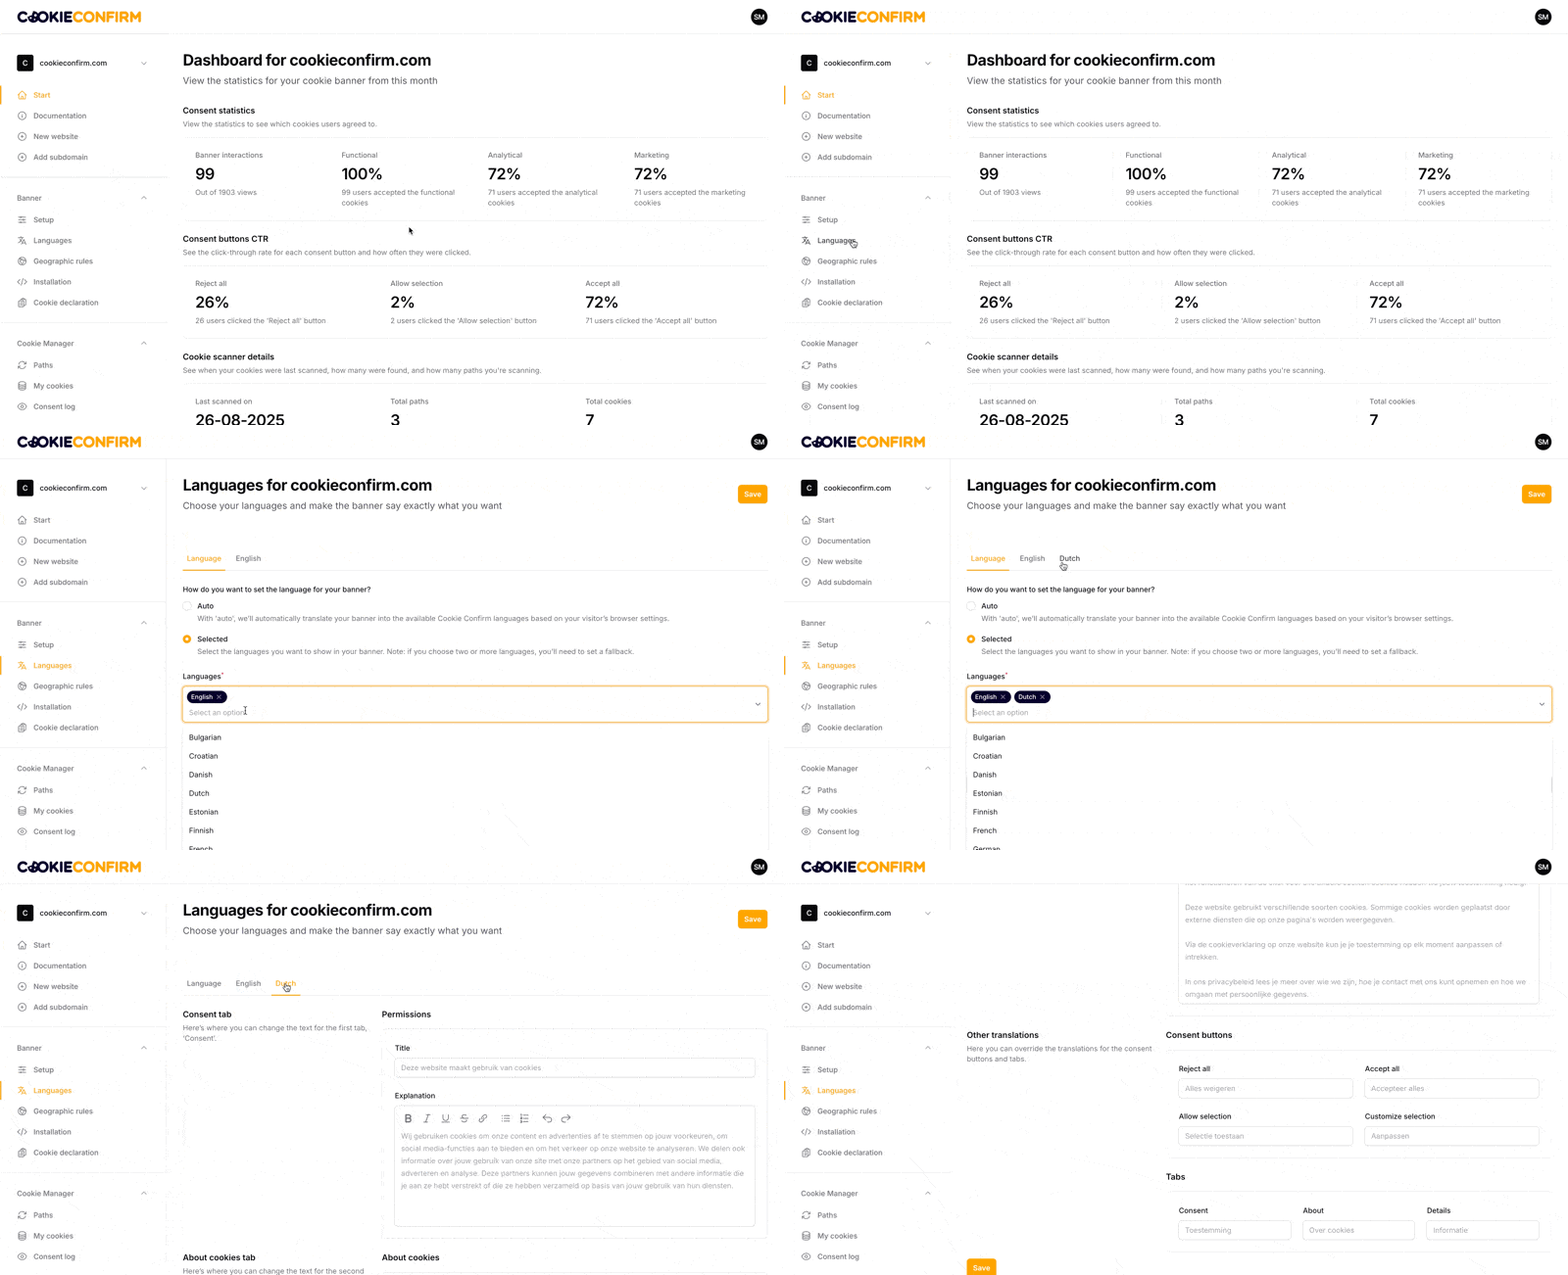
👉 In the menu, go to 'Languages'.
By default, your banner is automatically translated into all languages available in the system, with English set as the fallback. If you prefer, you can limit the banner to specific languages. In that case, the banner will only be shown in the languages you’ve selected.
Editing texts
If you’d like to modify a text, simply select a language. A new tab will appear where you can manually update the text.
💡 For more information, see this article: https://help.cookieconfirm.com/en/articles/5072898
Step 3: activating your cookie banner
Once you’ve completed the steps above, it’s time to put your cookie banner live!
Installation with Google Tag Manager (GTM)
We recommend installing Cookie Confirm with Google Tag Manager (GTM). You can set it up in just a few steps:
Make sure GTM is installed on your website.
Create a new 'Tag'.
Search for 'Cookie Confirm CMP' in the template gallery and install our template.
Set the trigger to 'Consent Initialization – All Pages'.
Publish your changes in GTM to make them live.
💡 For more information, see this article: https://help.cookieconfirm.com/en/articles/5096578
Manual installation
We recommend installing via GTM, but if you prefer to do it manually, that’s also possible. You just need to place a script in the <head> tag of your website.
💡 For more information, see this article: https://help.cookieconfirm.com/en/articles/5073026
